
Last updated November 21, 2026
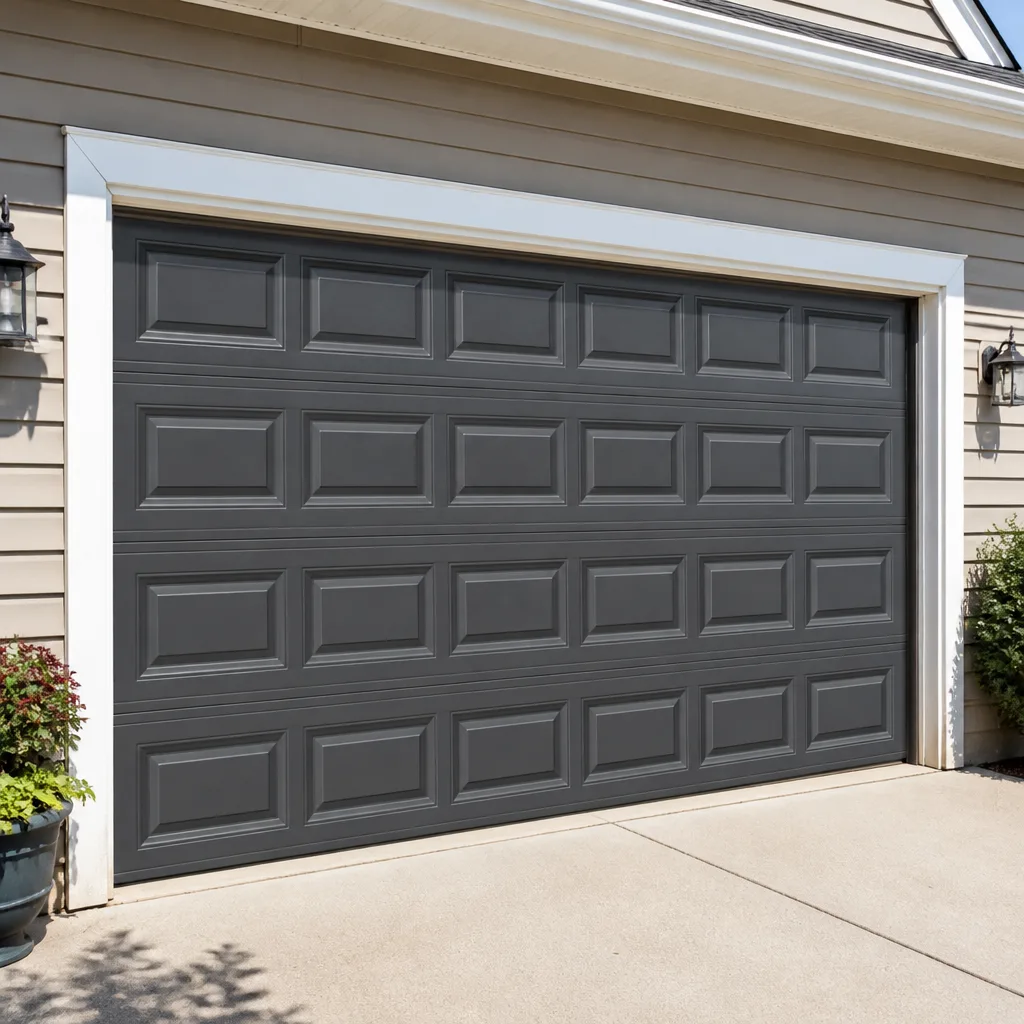 Raised-panel steel
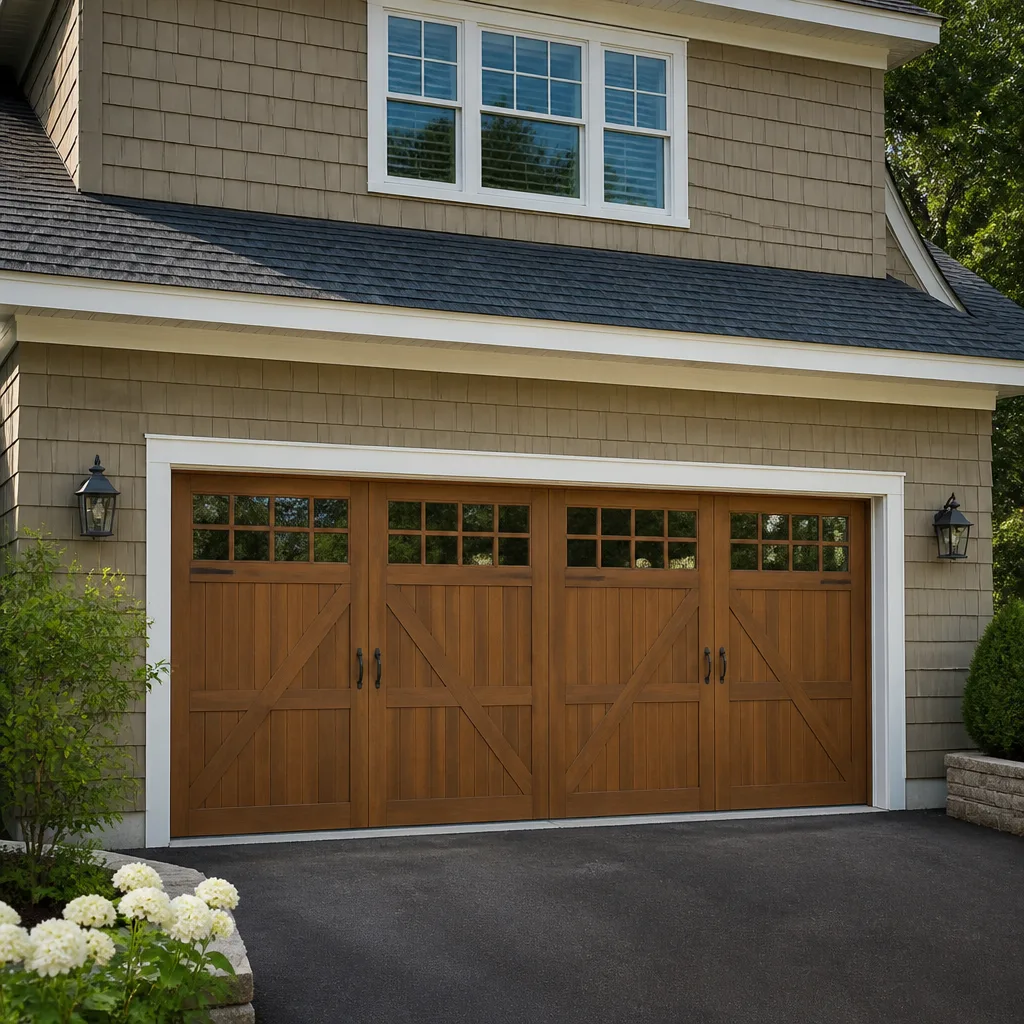 Carriage house
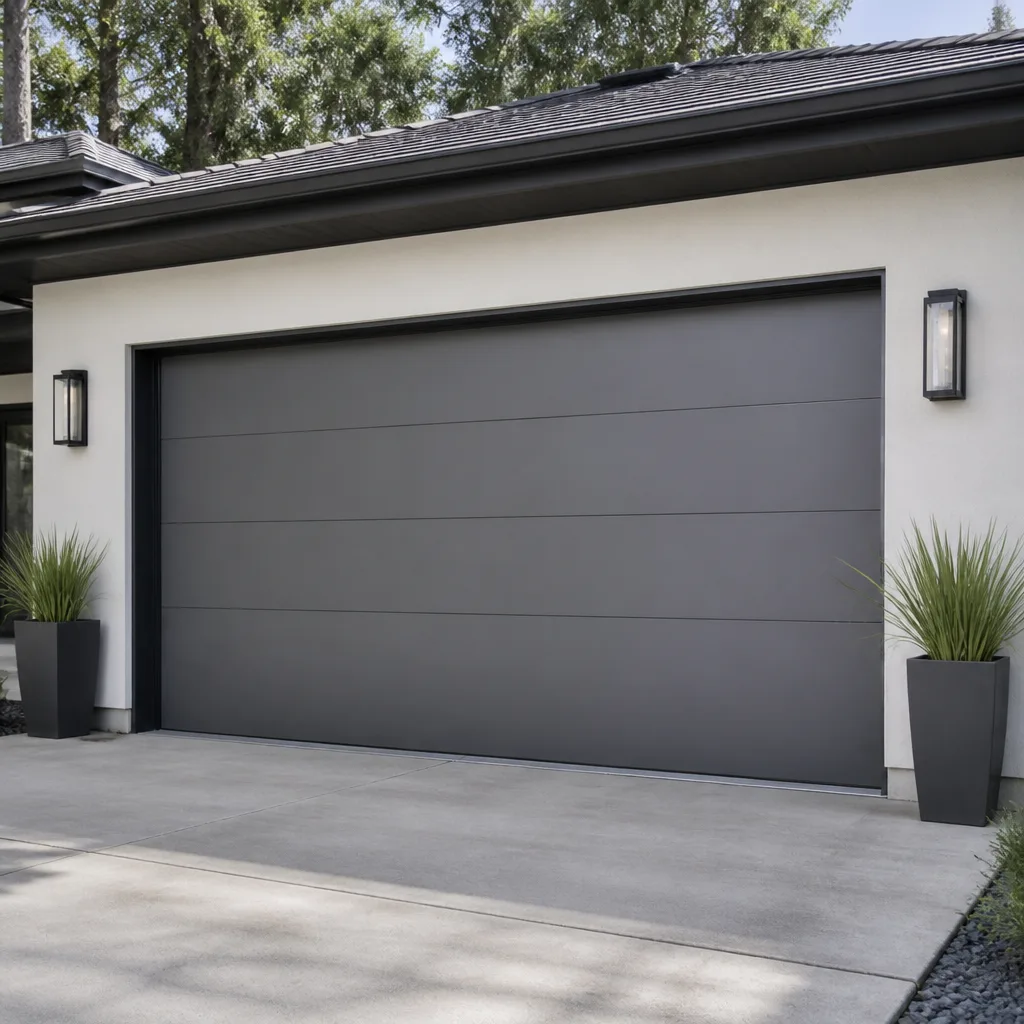 Modern flush
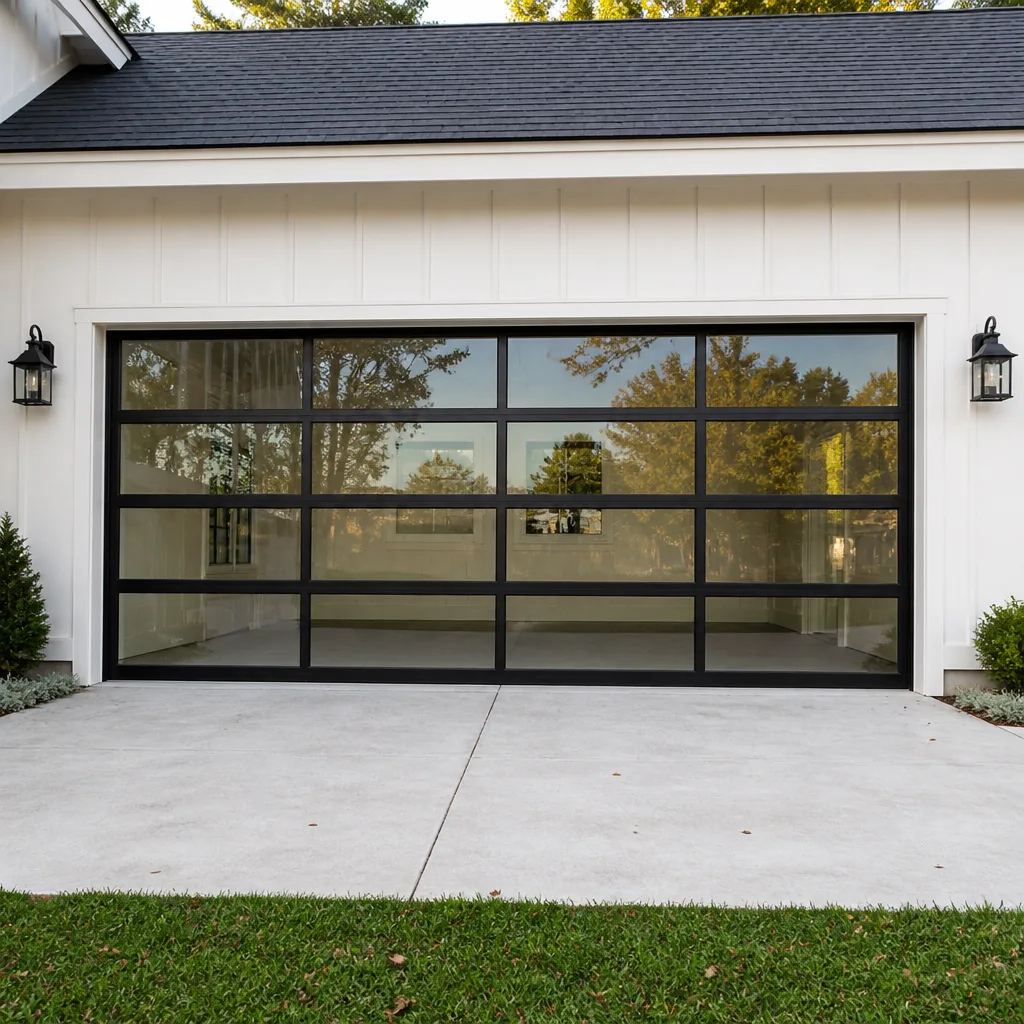 Full-view glass
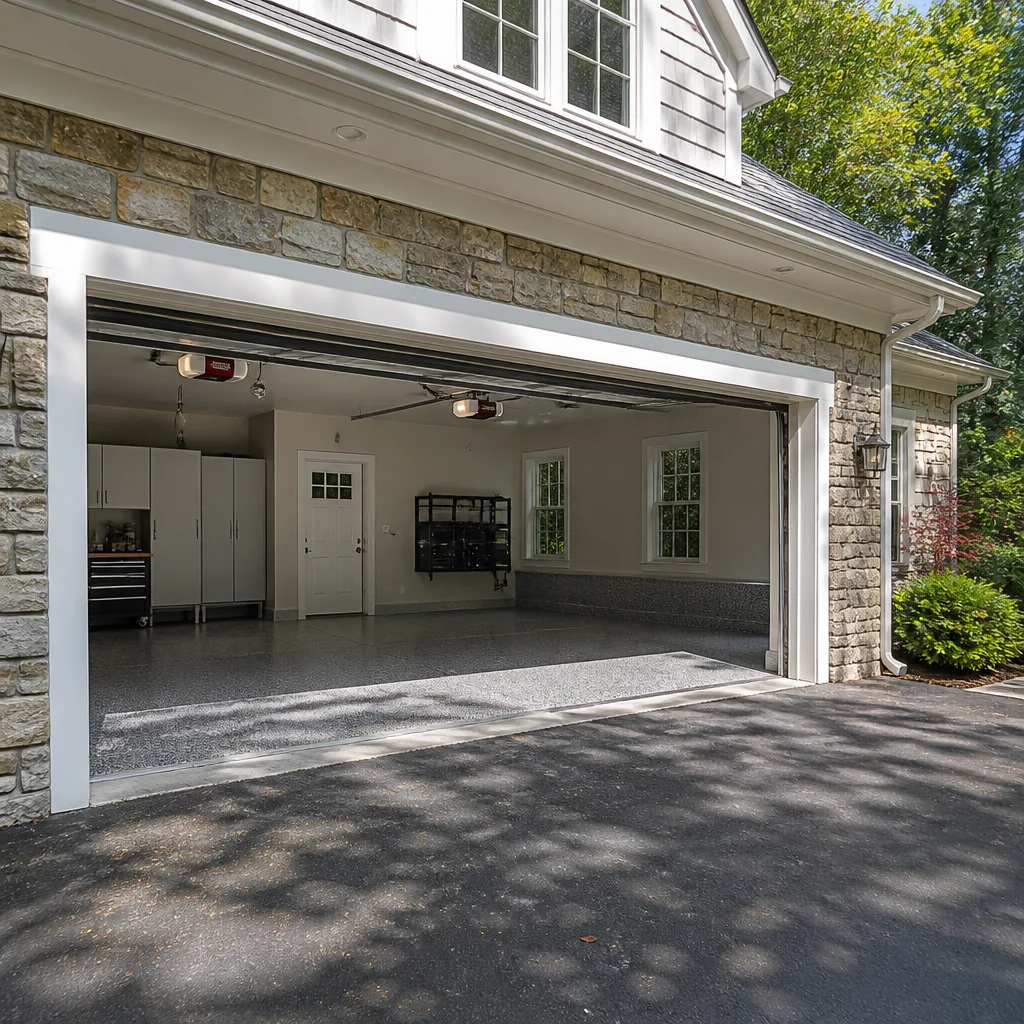 LiftMaster openers
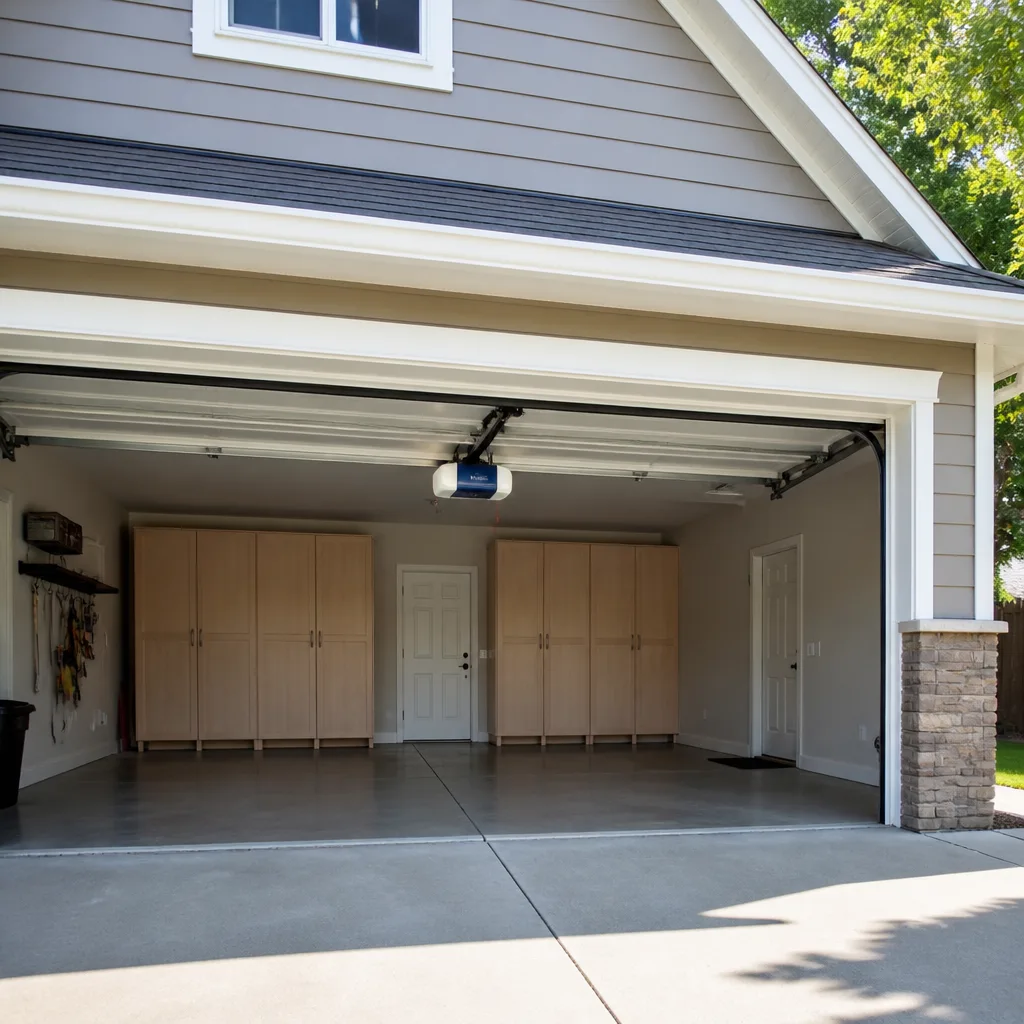 Chamberlain openers
Full 25-point door and opener safety check with every visit - springs, cables, rollers, tracks, and your LiftMaster or Chamberlain opener included
You get a price before we start. It does not change when the pro arrives.
Get your free estimateDIY vs Professional Garage Door: The Belair-Edison Homeowner’s Decision Guide
A torsion spring the thickness of your thumb can hold enough stored energy to break a wrist or worse. That’s not a scare tactic, it’s physics, and it’s why the DIY decision on a garage door should never start with “am I handy enough?” It should start with “which parts of this system can hurt me?” We’re a garage door company in Belair-Edison, and we’ve watched homeowners happily swap weatherstripping on a Sunday afternoon and then wisely back away from a winding bar. This guide draws that line clearly: what’s genuinely safe to do yourself, what isn’t, how to diagnose a problem before you pay anyone, and how to cut billable time on a service call without touching anything dangerous.
Quick Answer
Weatherstripping, sensor alignment, lubrication, opener programming, and visual inspections are genuinely DIY-safe. Torsion springs, extension springs, cables, and bottom brackets under tension are not: they store enough energy to cause serious injury and should always go to a trained technician. Everything in between, like opener replacement or roller swaps, comes down to whether you’re comfortable on a ladder with a power tool.
Styles & brands we work with
- Raised-panel steel
- Carriage house
- Modern flush
- Full-view glass
- LiftMaster openers
- Chamberlain openers
Table of Contents
- Where the DIY Line Actually Falls
- Why Springs and Cables Are a Different Kind of Dangerous
- How to Diagnose Your Door Before You Call Anyone
- DIY Opener Installation: Where the Savings Are Real and Where They Aren’t
- What to Do Before a Technician Arrives
- What Professional Work Costs in Belair-Edison
- How Belair-Edison Weather Affects the DIY Decision
- Common Mistakes to Avoid
- When to Call a Professional
Where the DIY Line Actually Falls
Here’s the cleanest way to think about it. Some parts of a garage door carry stored mechanical energy even when the opener is unplugged. Others carry none at all. Your decision should follow that split, not your confidence level.
We’ve broken it into two lists. The first is genuinely safe for a homeowner with basic tools and a ladder. The second is where the real danger lives, and we’d rather you not learn that the hard way.
Genuinely DIY-safe tasks
- Weatherstripping replacement. The rubber or vinyl seal along the bottom and sides of the door. Slides into a track or nails on. No stored tension.
- Safety sensor alignment. The two small photo-eye sensors near the floor at each side of the opening. If they’re knocked out of line, the door reverses or refuses to close. Straightening them is routine.
- Lubrication. Rollers, hinges, and the torsion bar bearings take a garage-door lubricant, not WD-40. A ten-minute job, twice a year.
- Opener remote and keypad programming. Pairing a new remote to a LiftMaster or Chamberlain unit is a button-press sequence in the manual. Nothing dangerous about it.
- Visual inspection. Look at cables for fraying, springs for gaps, hinges for cracks, and the door’s balance. That last one we’ll explain below.
- Track cleaning. Wiping grit out of the vertical and horizontal tracks with a damp cloth. Aligning a badly bent track is a different story.
Not DIY-safe, no exceptions
- Torsion springs. Mounted on the shaft above the door. Winding and unwinding them requires the right bars and the right technique, and a slip can be catastrophic.
- Extension springs. Mounted along the horizontal tracks. Older ones without a safety containment cable are especially dangerous if they let go.
- Lift cables. The steel cables running from the bottom brackets up to the drums. They’re under heavy tension whenever the door is down.
- Bottom brackets. The brackets the cables attach to are under spring tension even with the door closed and the opener disconnected.
- Drum and shaft work. Anything that involves loosening the set screws on the torsion system.
If a job appears on the second list, the honest answer is that no amount of YouTube watching converts it into a safe DIY task. We say that as a company that does this work every day in Belair-Edison. It’s not gatekeeping, it’s the same caution a good electrician gives about opening a live panel.
Why Springs and Cables Are a Different Kind of Dangerous
Most home repairs that go wrong cost you money or a bruise. Garage door springs are in a different category. A torsion spring is wound to counterbalance the weight of the door, and the stored force is released through the winding bars, the cables, and the drums. When that force lets go uncontrolled, it doesn’t stop to check who’s standing there.
We’re not going to quote a made-up injury statistic, because the honest version is simpler and just as persuasive: emergency rooms see DIY garage door injuries every year, and the pattern is almost always the same. A homeowner gets the door up, decides to unwind the spring, and the bar slips or the cable snaps. The result is broken fingers, wrist fractures, and worse from a fall off a ladder when the door drops.
Why this isn’t like other home repairs
- The energy is stored, not live. With electrical work, you can kill the breaker and the danger is gone. A wound torsion spring doesn’t have an off switch. It’s loaded until it’s properly unwound.
- It’s a two-person job that looks like a one-person job. Winding bars, a proper stance, and a spotter are the difference between a controlled operation and an accident.
- Failure is sudden. Cables and springs don’t give warning creaks the way a worn bearing does. They either hold or they don’t.
- The ladder compounds it. You’re on a step ladder with your arms over your head applying torque. A slip is a fall, not just a scrape.
A trained technician treats a spring replacement as a controlled process: door secured, opener disconnected, tension released methodically, the correct spring matched by wire gauge and inside diameter, then wound back to spec. Our technicians have up to 12 years of experience winding and replacing springs, and they still treat every one as a job where the margin for error is small.
If your spring has snapped and the door is stuck down, we run garage door repair with spring work as a named, explicit service, not a job we hand off to someone else. If the door is heavy to lift or won’t stay up, that’s your cue to stop lifting and call.
How to Diagnose Your Door Before You Call Anyone
One of the most common things we hear in Belair-Edison is “we called someone before we checked if it was just the sensor.” Understandable, but it’s a paid visit for a two-minute fix. A proper diagnosis takes ten minutes and needs no tools beyond your hands and eyes. Here’s the sequence we’d walk you through.
- Watch the door from a distance and listen. Does it move smoothly and quietly, or shudder and grind? A loud bang from the direction of the shaft usually means a torsion spring has failed. A grinding hum with no movement points to the opener.
- Check the safety sensors. Are both photo-eyes near the floor lined up and lit? Is a rake, a bag of mulch, or a fallen leaf blocking the beam? This is the single most common reason a door refuses to close.
- Test the wall button and the remote separately. If the wall button works and the remote doesn’t, it’s a remote or programming problem. If neither works, suspect the opener or its power source.
- Do the balance test. With the door closed, pull the manual release cord to disconnect the opener. Lift the door about halfway and let go. A balanced door stays put. A door that drops or shoots up has a spring or cable problem.
- Look for the obvious. A bent track, a broken hinge, a roller popped out of its track, or a dangling cable. No tools needed to spot these.
- Check the opener’s light code. Most openers blink a repeating pattern, and the manual will tell you what it means. A LiftMaster or Genie unit with a specific flash count is telling you precisely what’s wrong. That’s free information.
Write down what you find. It’s the difference between a diagnostic visit and a straight repair visit, and it saves time you’d otherwise pay for. If your diagnosis points to the opener itself, our garage door opener repair handles the brand already mounted on your ceiling.
DIY Opener Installation: Where the Savings Are Real and Where They Aren’t
This is the one middle-ground task where homeowners genuinely debate the call. The honest answer: some of the work is doable, but the parts that aren’t done correctly are the parts that matter most. Let’s separate where the money is real from where it’s an illusion.
Where DIY opener installation is genuinely feasible
- Replacing a like-for-like opener with the same brand and rail type. If a Chamberlain is coming out and a Chamberlain is going in, the ceiling bracket and wiring often line up.
- Programming remotes and keypads. That’s the last ten minutes and it’s easy.
- Assembling the rail and header bracket on the ground before you go up the ladder.
Where the hidden costs show up
- The door’s safety reverse must be set correctly. Both the contact reverse (the door reverses when it hits an object) and the photo-eye reversal matter. Get the force settings wrong and the door can crush or fail to reverse. That’s a safety issue, not a warranty issue.
- You may void the opener manufacturer’s warranty. Most residential opener warranties are written for professional installation. Installing a new unit yourself is a common way homeowners discover, months later, that the warranty won’t cover a board failure.
- Weight and balance must be right. A new opener on an old door with tired springs will struggle and burn out early. Installing the opener doesn’t fix the actual problem.
- Header and ceiling anchoring is structural. If the header bracket isn’t into solid framing, the opener is holding the door’s weight on a bracket that can pull out.
- Local code may require it. Most jurisdictions require the safety reverse and sensor system to work, and some require a permit for opener replacement. Check with your city’s building department. We won’t quote a code section here, only flag that you should ask.
Here’s how we’d frame the cost-benefit: if you’re replacing a worn-out opener with the same model, you’re comfortable on a ladder, and you’ll follow the manual’s safety settings precisely, DIY can work. If anything about the install is new, if the door has balance or spring issues, or if you’re trying to save money by pairing a new opener with an old door, hire it out. The savings are real dollars and a real headache later.
If you want a full opener plus door replacement done together, our garage door installation gives you a free measure and a written price before anything is ordered. That part is free and worth having regardless of what you decide.
What to Do Before a Technician Arrives
Here’s the practical reality of service calls: a chunk of the time you’re billed for is spent on the basics. Clearing the space, disconnecting power, moving a car out of the way. You can do that yourself before we arrive, without touching any part of the mechanism. In our experience, homeowners who do the prep work get the repair done faster and pay for less diagnostic time.
- Move everything out of the door’s path. The car, the snow blower, the stack of boxes along the wall. The technicians need room to work and to test the door through its full travel.
- Pull the manual release cord. Disconnect the opener and lift the door by hand to confirm it’s stuck or stuck-open. Leave the cord hanging where the technician can see it.
- Turn off the opener’s power. Unplug the unit from the ceiling outlet. This is safe, it’s just a plug.
- Note the model and brand. The label on the inside of the opener housing. If it says Raynor or LiftMaster or Chamberlain, that tells us what we’re working with before we start.
- Write down the symptoms in order. When it started, what you heard, what you tried, whether the light blinks. A clear symptom description is worth as much as a diagnostic visit.
- Keep pets and children clear. The door moves suddenly during testing, and the last thing anyone needs is a pet under it when it cycles.
None of that touches a spring, cable, or bracket. It’s just groundwork, and it’s the cheapest way to control the bill.
What Professional Work Costs in Belair-Edison
Here’s the part most guides get vague about. You deserve real numbers so you can compare the DIY savings honestly. These are typical estimated ranges for the Belair-Edison area. The written estimate you receive after a free measure or inspection sets the final price.
- Torsion spring replacement, one spring: roughly $180 to $340. A matched pair is usually replaced together, so a pair costs about twice that. Single-spring pricing isn’t fair to quote for a two-spring door.
- Extension spring replacement, one spring: typically $90 to $180. Again, pair pricing applies if both are tired.
- Cable replacement: commonly $150 to $280 per side, depending on how much of the drum and bracket assembly has to be reseated.
- Opener repair: generally $120 to $260, depending on the part (gear, board, capacitor, safety sensor).
- New opener installation: typically $200 to $450 for labor, on top of the opener itself.
- Full door installation: varies widely with size, insulation, and brand. A free measure gives you the range for your actual opening.
- Diagnostic visit: our estimate is free. Confirm what’s included before anyone starts.
The reason we put specific numbers in front of you instead of “call for pricing” is simple: if you’re comparing DIY against professional, you can’t compare against a mystery. The price is quoted and agreed before any work starts. You’ll know the number before we touch the door, and that written estimate is the price.
How Belair-Edison Weather Affects the DIY Decision
Belair-Edison sits in the Baltimore climate, which means four real seasons compressed into a small space. That has real implications for your door, and for whether the DIY route is worth it.
Summers are humid. That humidity attacks the same parts a homeowner might try to service themselves: steel rollers rust, hinges stiffen, and the door starts to bind. Sticking rollers are a DIY-safe lubrication job. A binding door that’s pulling on the cables is not.
Winters bring freeze-thaw cycles. The bottom seal cracks, the door itself can shrink and expand slightly at the seams, and the opener’s force settings may need a small adjustment as the door gets heavier in the cold. Weatherstripping is a DIY job. Changing the force settings on the opener is one we’d suggest you don’t touch: wrong settings turn a safe door into a dangerous one.
Springs live in an interior environment but still wear with the number of cycles, not the weather. A door that goes up twice a day in Belair-Edison has different wear on its springs than a door that goes up once a week. That’s a good reason to check for spring gaps in the fall, before the heavy season, and to treat any sag or gap as a professional call.
None of this is coastal weather. Belair-Edison is inland, and salt air isn’t a factor in the corrosion you’ll see on your door track. If someone tries to sell you a marine-grade solution, walk away.
Common Mistakes to Avoid
We’ve seen these enough times to know they’re almost universal. Each one costs real money or real safety.
- Attempting a torsion spring replacement yourself. This is the top mistake, and it’s the one with the worst consequences. The bars can slip and the spring can snap, and the stored energy doesn’t care how careful you are. Save yourself the trip to the emergency room.
- Spraying WD-40 on the springs and rollers. WD-40 is a solvent, not a lubricant, and it strips the protective coating. Use a proper garage door lubricant once or twice a year. You’ll want to know this before you start reaching for the blue can.
- Force-setting the opener to compensate for a heavy door. If the door is heavy, the springs are tired or the cables are dragging, not the opener. Cranking up the force setting just hides the real problem and puts the safety reverse at risk.
- Replacing the opener while ignoring the door. A new opener on an unbalanced door with worn springs will fail early. Fix the actual mechanical problem first.
- Bending a track back into shape by eye. A misaligned track will drag the rollers and wear the door. You may also lose the door’s weather seal and let in Belair-Edison’s summer humidity.
- Skipping the sensor alignment check. The most common cause of a door that won’t close is a misaligned photo-eye. Straightening it takes a minute. Calling a technician for that one is a billable visit you didn’t need.
- Leaving extension springs without a safety containment cable. Older doors often have extension springs without one. A failed spring can sail across the garage. If you see an old spring without that cable, don’t touch it, and do call.
When to Call a Professional
If any of the following is true, the DIY question is already answered. Call instead of trying.
You hear a loud bang from the torsion bar. The door is heavy to lift by hand. You see a gap in a spring coil. A cable is frayed, kinked, or hanging loose. The door won’t stay up when disconnected from the opener. A bottom bracket is bent or a hinge is cracked. The opener cycles but the door doesn’t move, or the opener’s light flashes a code you can’t decode. Any of these involves parts under tension or a system that affects the door’s weight and safety.
Garage Door Repair Belair-Edison offers free estimates in Belair-Edison. Call (855) 337-1760. We answer 24/7. A call outside dispatch hours is booked into the next opening, Sunday through Friday, 7am to 7pm. Our technicians are trained on the brands already in Belair-Edison garages, including LiftMaster, Chamberlain, Genie, and Raynor, so the diagnosis starts from a familiar place. Same-day service is available for the calls that can’t wait.
See the difference
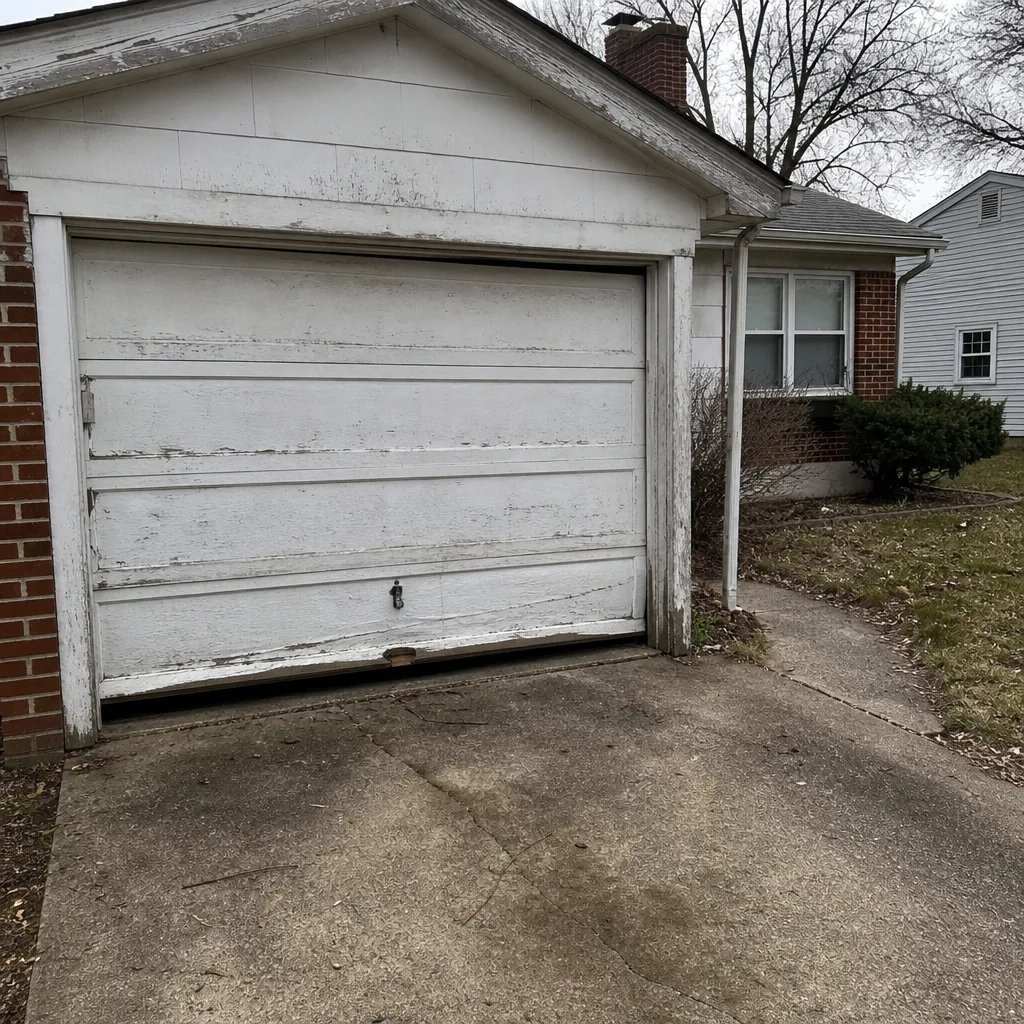 Before
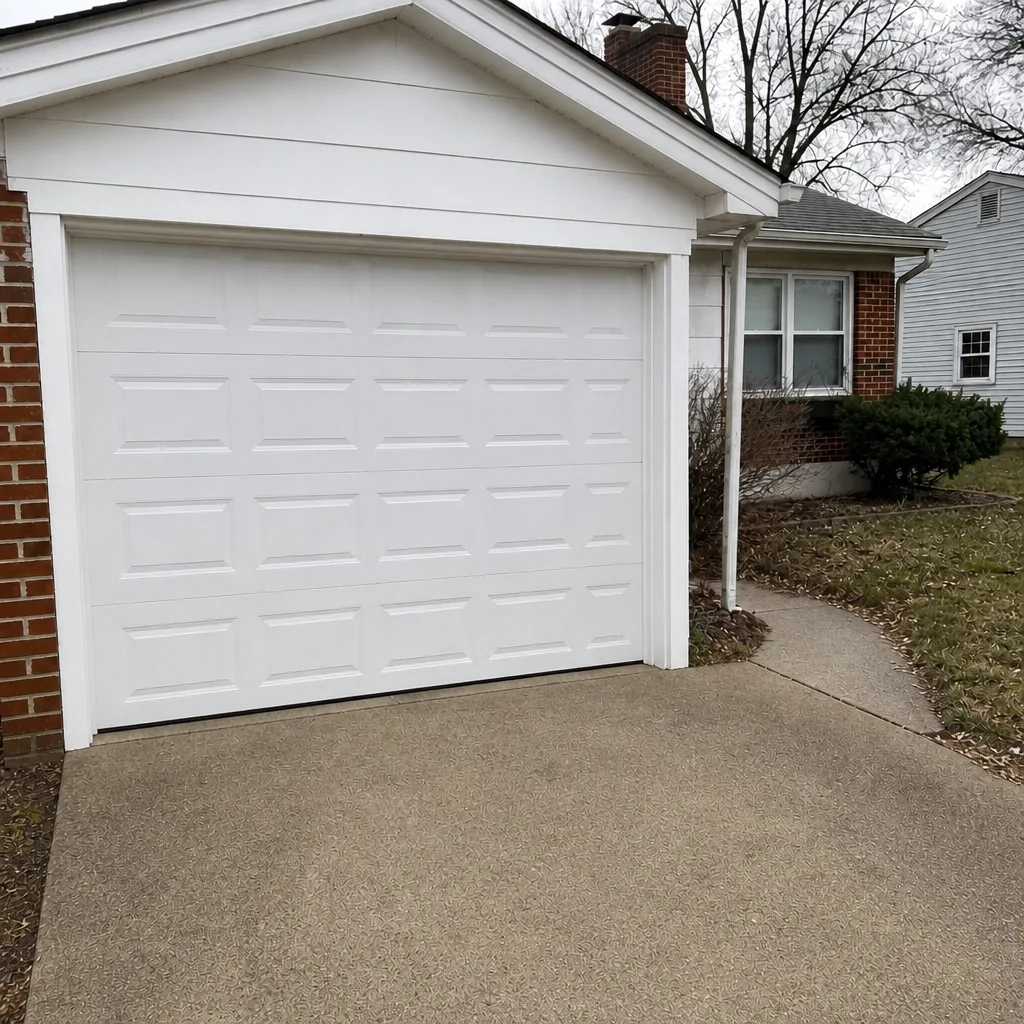 After
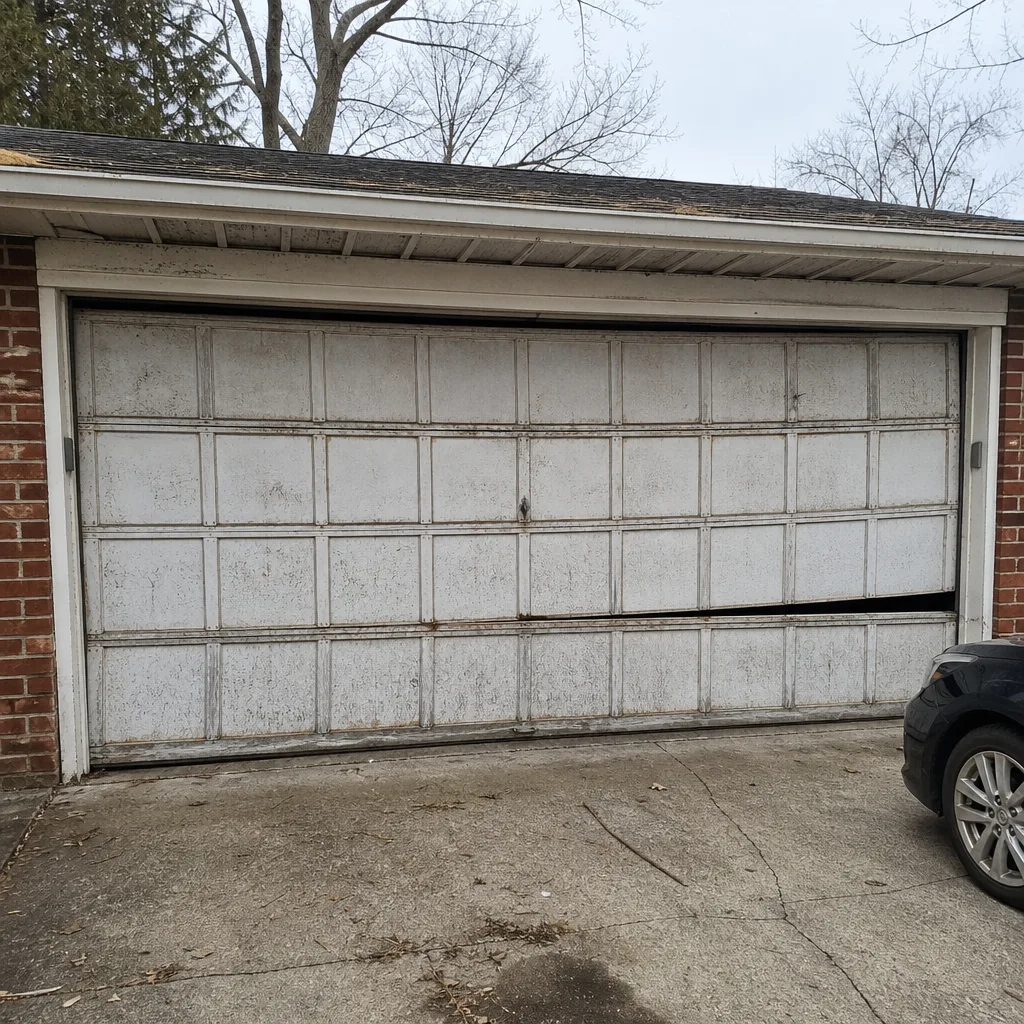 Before
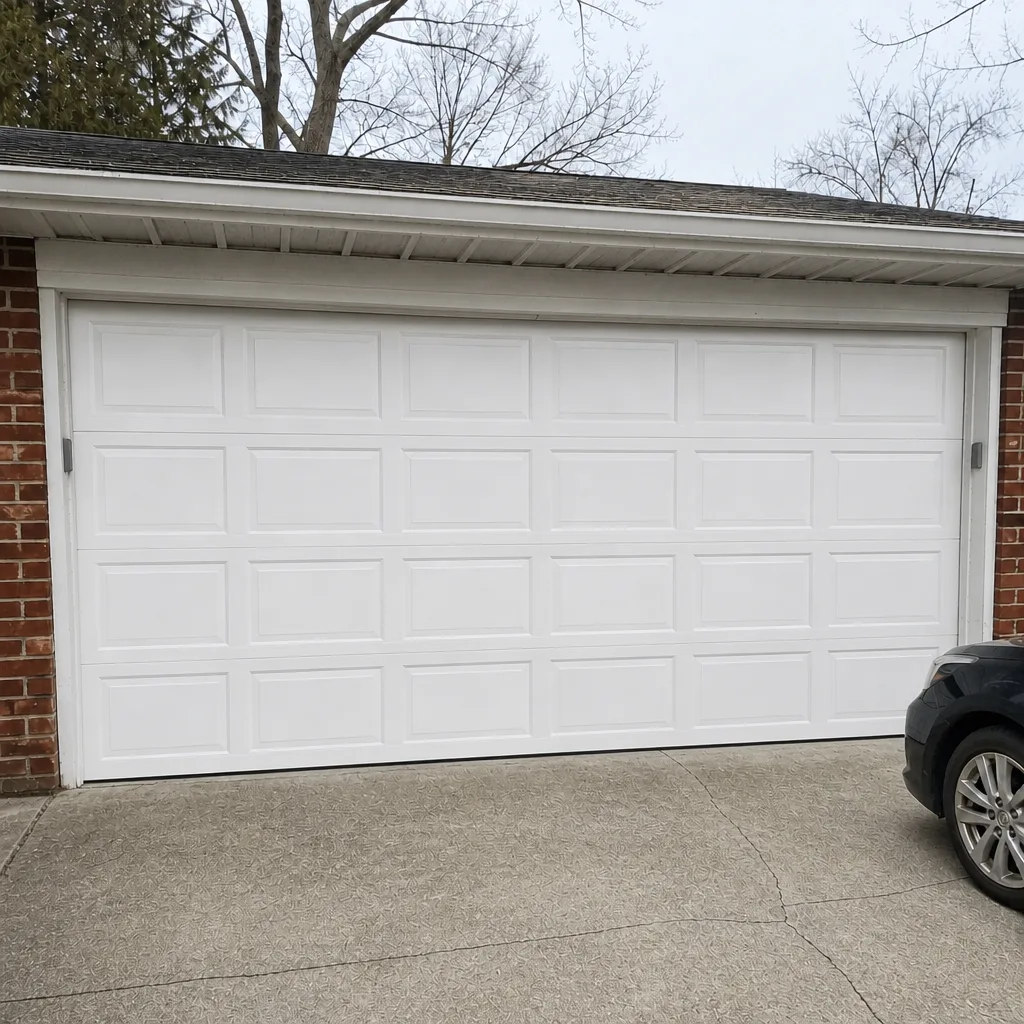 After
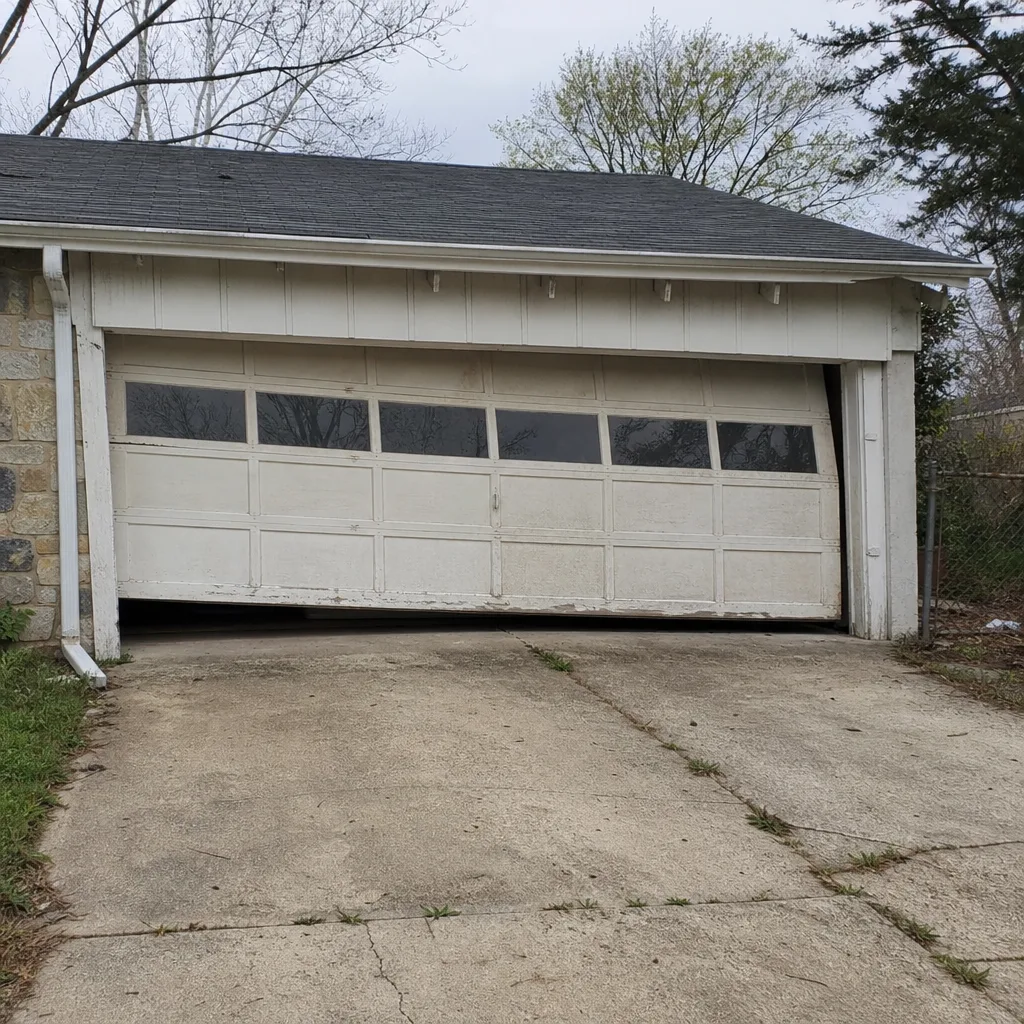 Before
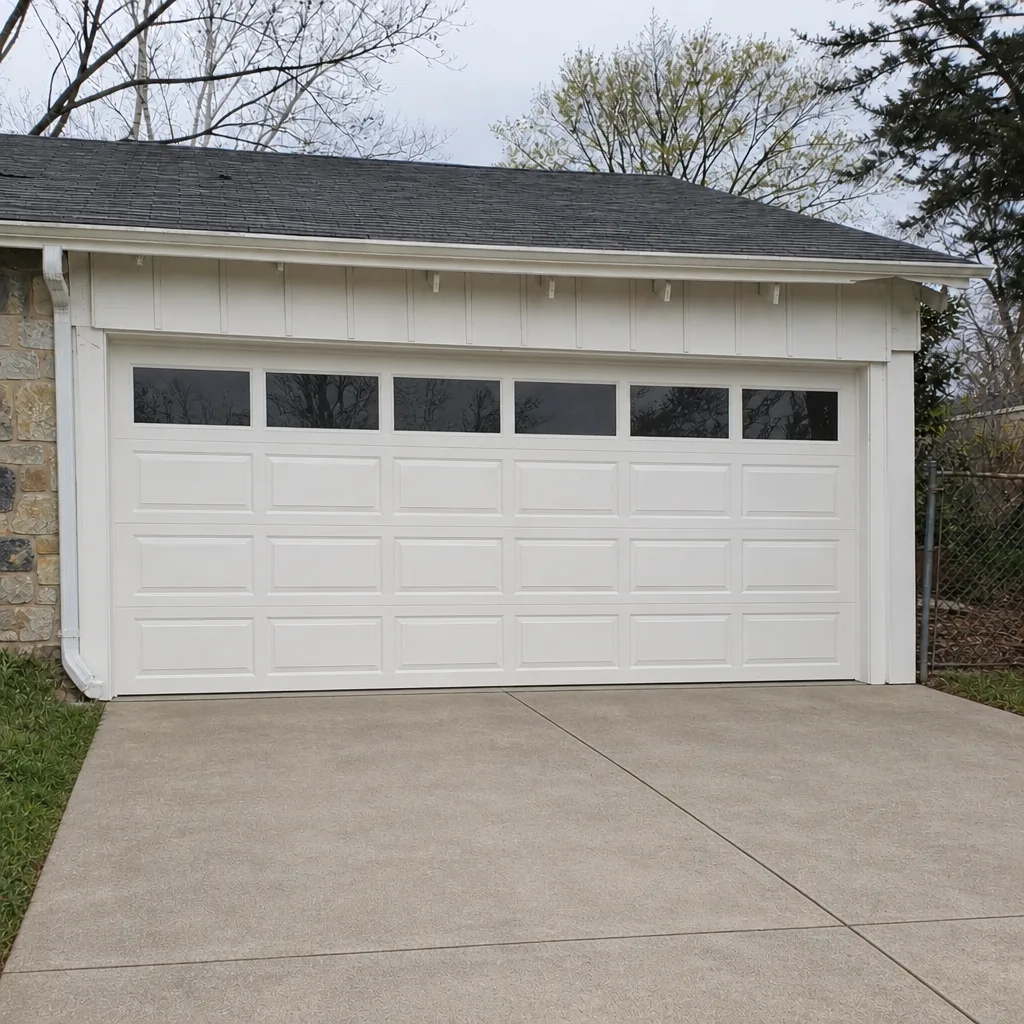 After
Frequently Asked Questions
No. Torsion springs store enough energy to break your wrist or worse, and winding them requires special bars and a controlled technique. The risk of a slip is high, and the consequences are severe. A trained technician can replace a spring for a typical $180 to $340 (one spring, in Belair-Edison). Call (855) 337-1760 for a free estimate.
Sometimes. A like-for-like swap of the same brand, with the door already in good balance, can be done by a careful homeowner. But setting the safety reverse correctly, anchoring the header bracket, and adjusting the force settings are the parts that matter and the parts people get wrong. Many residential warranties assume professional installation. For a full door plus opener quote in Belair-Edison, call (855) 337-1760 and ask for a free measure.
Nine times out of ten it’s the safety sensors. One of the two photo-eyes near the floor is misaligned, or something like a rake or a bag of mulch is in the beam. Straighten the sensor or clear the obstruction and the door should close. If it still won’t, the opener or the door’s balance may be at fault. Call (855) 337-1760 for an exact quote and same-day diagnosis.
No. The written estimate is the price, and it’s agreed before any work starts. The only time a number moves is when you add work or the problem is materially different from what was described. If that happens, we tell you before continuing. Call (855) 337-1760 for a free estimate in Belair-Edison.
The local professional who comes to your door is licensed and insured as the state of Maryland requires. That’s true for spring work, opener repair, and full door installation. If you want to verify the credentials of the technician who arrives, you’re welcome to ask. Call (855) 337-1760 with any question about who’s doing the work.
Yes for most repair calls. We answer 24/7 and dispatch fast from 7am to 7pm, Sunday through Friday. We’re closed Saturday. A call outside dispatch hours is booked into the next opening. If your door is stuck open or has failed in a way that leaves the garage unsecured, describe it when you call and we’ll book the soonest slot. Call (855) 337-1760.
The Bottom Line
The DIY line on a garage door isn’t about how handy you are. It’s about stored energy. Weatherstripping, sensor alignment, lubrication, and remote programming are yours to do. Torsion springs, extension springs, cables, and bottom brackets are not, and no amount of tutorial-watching changes that. Between them sits opener replacement, where your success depends on the door’s condition and your comfort on a ladder. Diagnose before you call, prep your garage before a technician comes, and treat any bang, sag, or loose cable as a professional’s job. For everything in that last category, Garage Door Repair Belair-Edison is here with a free estimate, a written price before the work starts, and technicians who know the brand in your garage. Call (855) 337-1760. We answer 24/7. Fast dispatch from 7am to 7pm, Sunday through Friday.
Written by the team at Garage Door Repair Belair-Edison.